- Published on
Fortify Web Server Security in 5 Minutes with Tailscale
- Authors

- Name
- Ihar Finchuk
- @ifdotcodes
![]()
Introduction
I regularly create small cloud servers for developing APIs and running small scripts that need testing in real Linux environments before being deployed to clients. This process is cost-effective and can be set up within minutes using various providers such as Hetzner, OVH, DigitalOcean, and others.
Throughout development and for most projects, I find it essential to have direct access to services like MySQL, MongoDB, PostgreSQL, Elasticsearch, Redis, RabbitMQ, Typesense, and others, in order to use GUI clients for connections and debugging.
The following are the steps I typically follow to set up a secure environment accessible only to myself and authorized individuals.
Tailscale revolutionizes secure networking with its user-friendly approach, effortlessly connecting devices across diverse networks. This innovative platform simplifies VPN complexities, providing seamless and secure connections for users, regardless of their location or network setup.
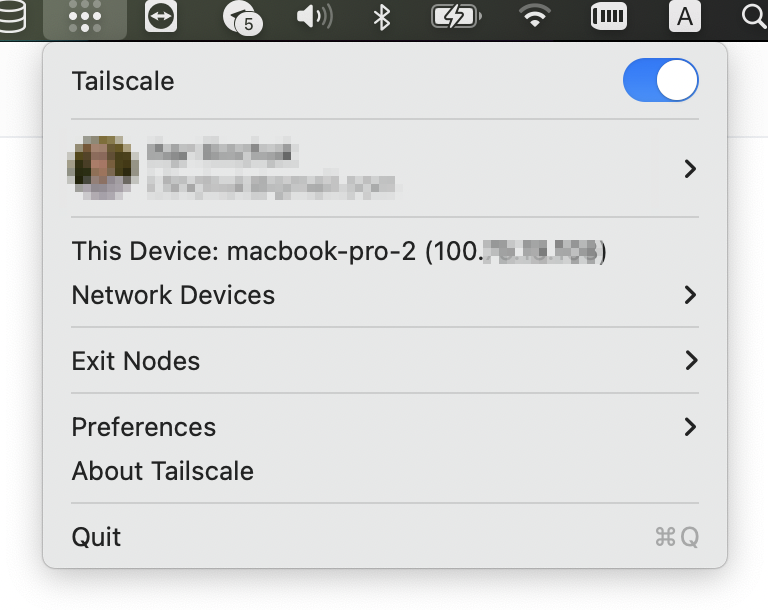
Tailscale supports various platforms, including Windows, macOS, Linux, iOS, and Android. Within minutes, it can be set up on devices such as a MacBook, iPad Pro, iPhone, and others, enabling access to any server. Tailscale generously provides its services for free, catering to the needs of individuals and small teams.
Setup Tailscale on Ubuntu
- Installing Tailscale Packages for Ubuntu
curl -fsSL https://pkgs.tailscale.com/stable/ubuntu/focal.noarmor.gpg | sudo tee /usr/share/keyrings/tailscale-archive-keyring.gpg >/dev/null
curl -fsSL https://pkgs.tailscale.com/stable/ubuntu/focal.tailscale-keyring.list | sudo tee /etc/apt/sources.list.d/tailscale.list
- Update Packages and Install Tailscale
sudo apt-get update
sudo apt-get install tailscale
- Connect Your Machine to Tailscale Network and Authenticate
sudo tailscale up
- Authenticate Through Your Browser
After executing the sudo tailscale up command, a link will be generated for authentication. You will see a message in your terminal:
ubuntu@ubuntu-8gb-dev-1:~# sudo tailscale up

To authenticate, visit:
	https://login.tailscale.com/a/a46489f67c00
Success.
- Confirm Connection and Retrieve Tailscale IPv4 for Your Server
Visit the provided link in your browser for authentication. After confirmation, to view the Tailscale IPv4 for your server, use the command:
root@ubuntu-8gb-dev-1:~# sudo tailscale ip -4
100.01.01.111
- Now let's activate firewall and allow only Tailscale IPv4 to access our server.
sudo ufw allow in on tailscale0
- Enable Firewall
Let's install set of commands to enable firewall and allow only HTTP and HTTPS traffic for everyone and protect our server from any other traffic.
sudo ufw default deny incoming
sudo ufw default allow outgoing
sudo ufw allow http
sudo ufw allow https
sudo ufw enable
- Check Firewall Status
ubuntu@ubuntu-8gb-dev-1:~# ufw status
Status: active

To                         Action      From
--                         ------      ----
Anywhere on tailscale0     ALLOW       Anywhere
80/tcp                     ALLOW       Anywhere
443                        ALLOW       Anywhere
Anywhere (v6) on tailscale0 ALLOW       Anywhere (v6)
80/tcp (v6)                ALLOW       Anywhere (v6)
443 (v6)                   ALLOW       Anywhere (v6)
- Let's reload firewall and restart ssh service
sudo ufw reload
sudo service ssh restart
When attempting to connect using the global IP after exiting, you'll encounter a timeout error.
Connecting to Devices on the Tailscale Network
However, this situation changes when your computer is connected to Tailscale.
In your network devices, you can connect using the local Tailscale IP address or the hostname, both of which are accessible through the Tailscale devices list:
❯ ssh root@ubuntu-8gb-dev-1

Welcome to Ubuntu 22.04.3 LTS (GNU/Linux 5.15.0-87-generic aarch64)

 * Documentation:  https://help.ubuntu.com
 * Management:     https://landscape.canonical.com
 * Support:        https://ubuntu.com/advantage
...

root@ubuntu-8gb-dev-1:~#
Similarly, accessing databases and other services while connected to the Tailscale network can be achieved using internal IP addresses. These services remain safely disabled for public access.
If necessary, additional ports can be allowed using the sudo ufw allow command.
In just five minutes, these steps enable a more secure and efficient working environment. Implement these strategies and witness their positive impact on your workflow. Continue to strive for greatness!